
How to install polyurethane edge banding rock wool board?
I. Core Advantages of Polyurethane Edge Banding Rock Wool Board
1. Enhanced Performance:
- Class A Fireproofing + Superior Insulation: Rock wool core meets fire safety standards, while polyurethane edges eliminate thermal bridging (thermal conductivity ≤0.038W/(m·K)).
- Improved Airtightness: Sealed joints reduce air leakage, boosting energy efficiency (airtightness increased by ≥30% in tests).
- High Load-Bearing Capacity: Vertical compressive strength ≥15kPa, ideal for large-span roofs and walls.
2. Cost-Effective Installation:
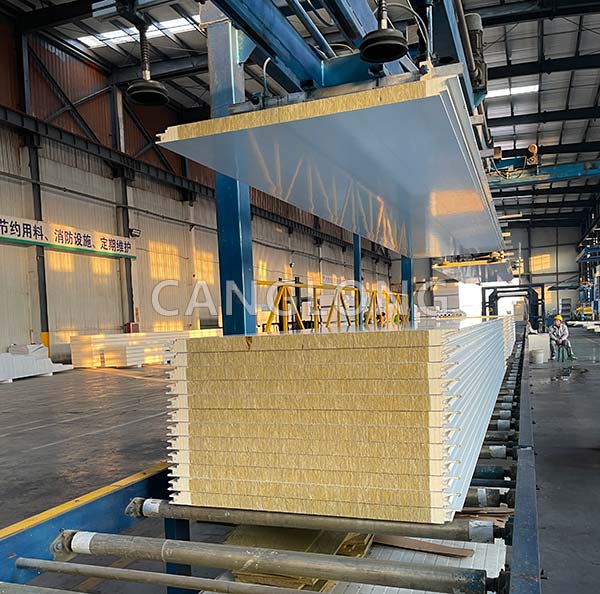
- Prefabricated Design: Minimizes on-site cutting waste, increasing installation efficiency by 40%.
- Lightweight Structure: 15% lighter than traditional composite panels, reducing transport and lifting costs.
II. Key Joint Methods Explained
1. Tongue-and-Groove Joint (Recommended)
- Features: Interlocking grooves ensure continuous sealing, perfect for high-airtightness applications (e.g., cleanrooms, cold storage).
- Installation Tips:
- Overlap width ≥50mm, fill grooves with polyurethane foam sealant.
- Avoid sealing strips when fixing with self-drilling screws.
2. Flat Joint (Budget-Friendly)
- Applications: Temporary structures or low-wind-pressure areas.
- Sealing: Cover seams with waterproof tape + external metal fasteners.
3. Concealed Joint (Premium Projects)
- Benefits: Hidden connectors eliminate exposed screws, ensuring smooth aesthetics (e.g., airports, stadiums).
- Tools Required: Aluminum alloy H-clip systems.
III. Standardized Installation Process (6 Steps)
Step 1: Substrate Inspection & Layout
- Check steel purlin flatness (tolerance ≤3mm/m), mark reference lines.
Step 2: First Panel Alignment
- Start installation from eaves/corners, following “roof-first, walls-later” sequence.
Step 3: Panel Fixation Techniques
- Self-Drilling Screws: Spacing ≤300mm, screw vertically into purlin C-channel centers.
- Concealed Clip System: Use sliding brackets to accommodate thermal expansion.
Step 4: Seam Sealing
- Apply continuous polyurethane sealant (width ≥8mm).
Step 5: Reinforcement at Critical Nodes
- Add U-shaped trims around door/window openings; stagger joints at corners.
Step 6: Final Inspection
- Use thermal imaging to detect thermal bridges; air leakage ≤1.5m³/(h·m²) at 50Pa pressure.
IV. Typical Applications & Selection Guide
| Scenario | Recommended Panel | Thickness | Additional Features |
|---|---|---|---|
| Industrial Walls | Horizontal Grooved | 80-150mm | Wind-resistant (≥1.5kPa) |
| Cold Storage | Concealed Joint | 120-200mm | Dual-sided moisture barrier |
| Petrochemical Zones | Fire-Rated Flat Joint | 100-180mm | Aluzinc steel + ceramic coating |
| Cleanroom Partitions | Antimicrobial Grooved | 50-100mm | Nano-coating (99% bacteria resistance) |
V. FAQ Section (Long-Tail Keyword Optimization)
Q1: How does polyurethane edge banding rock wool board installation differ from traditional rock wool panels?
► Avoid cutting sealed edges; pre-drill holes at the factory.
Q2: How to prevent edge degradation in humid climates?
► Use UV-cured polyurethane edges (25+ years durability).
Q3: How to secure panels on roofs with >10% slope?
► Add anti-slip clips (≥6 fixings per m²).